Manual Installation
Manual Installation
Before you start the installation of the NWC Packaging PowerBench, make sure that you have met the system requirements on the computer on which you want to perform the installation. You must also have administrative permissions on the target system for the installation.
To start the setup, double-click the "NWCPackagingPowerBench.msi" file or select "Install" from the context menu of the MSI file..
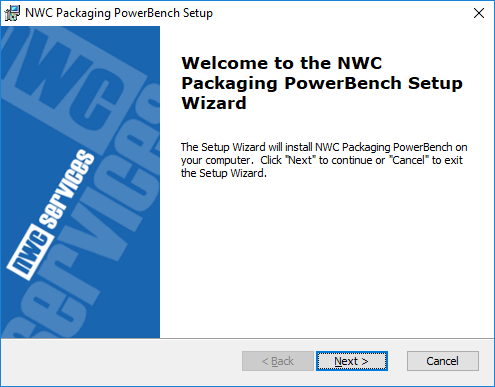
Setup first shows you the welcome screen of the installation wizard. Confirm with "Next >".
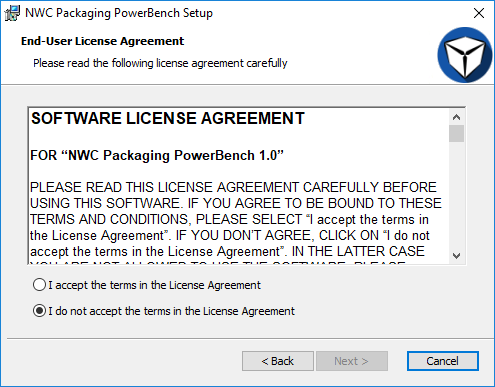
In the next step, you must accept the software license agreement. Please read it carefully and, if you accept the terms, select the radio button "I accept the terms in the License Agreement". Confirm this by clicking on "Next >".
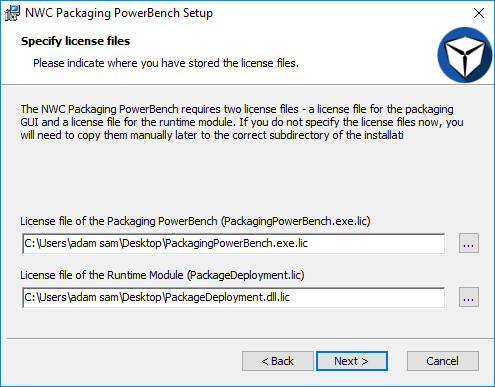
The NWC Packaging PowerBench requires two license files, one for the graphical interface for packaging and one for the runtime module that is needed to execute the scripts. These license files are available separately from NWC Services GmbH – please contact us if necessary to obtain the license files (possibly also an evaluation license if you want to test the NWC Packaging PowerBench first).
If you have not yet received any license files, you can also skip this step by leaving the input fields empty and proceeding to the next step with "Next >". However, you will have to copy the license files manually later. In this case, the file "PackagingPowerBench.exe.lic" must be copied directly into the installation directory – by default "%ProgramFiles%\NWC Services\Packaging PowerBench" – and the file "PackageDeployment.dll.lic" into the subdirectory "Common Runtime Files" of the installation directory.
|
Note: The setup automatically searches the license files in the same directory as the MSI itself. If you place the licenses there before starting the setup, the fields are filled automatically. |
If you already have your license files, enter the complete path (including file name) in the text fields of this wizard page or select the files with the browse buttons "...". Then confirm with "Next >".
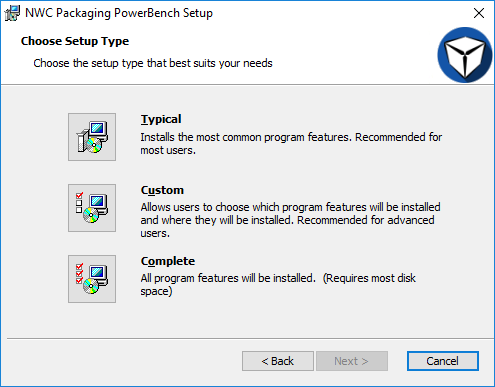
On the following wizard page, select the type of installation that suits you. You have the following options
- Typical
- Custom and
- Complete
If you choose the typical installation or the complete installation, the entire product is installed, consisting of the core components, the included documentation and the associated shortcuts in the Start Menu and on the desktop. The wizard will then automatically switch to the "Ready to Install" page.
If you choose the custom installation, the next page of the wizard allows you to select the program features to be installed.
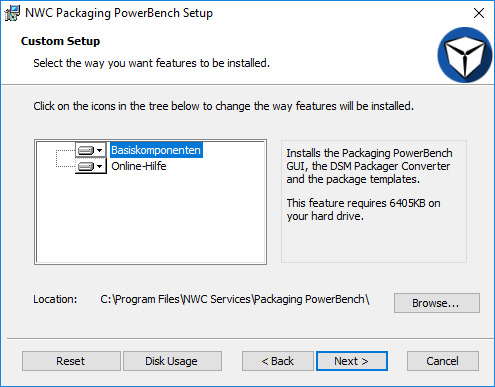
The following features are available for the installation:
- Basic components
The base components consist of the files absolutely necessary for the operation of the product name and therefore cannot be deselected for installation. - Online help
This feature installs the document you are reading, namely the online help.
Select the features you want to install. Optionally, you can also customize the installation directory so that the installation is performed in any folder you choose. Confirm your selection with "Next >".
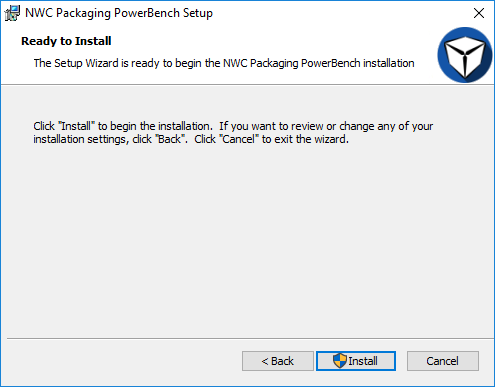
After you have made your selection or if you are using the Typical or Complete installation option, the wizard will inform you that the preparations for the installation are complete. Now start the actual installation process by pressing "Install".
|
Note: If User Account Control is enabled, you must confirm the execution of the installation again in an UAC prompt. |
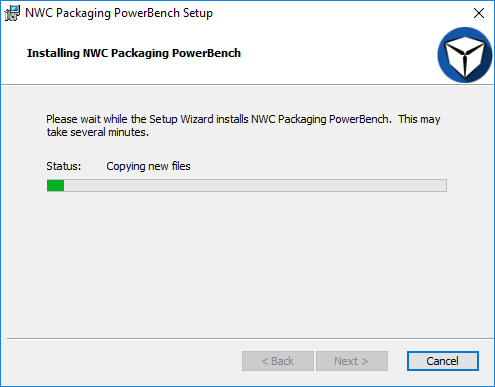
Please wait while the installation is being performed...
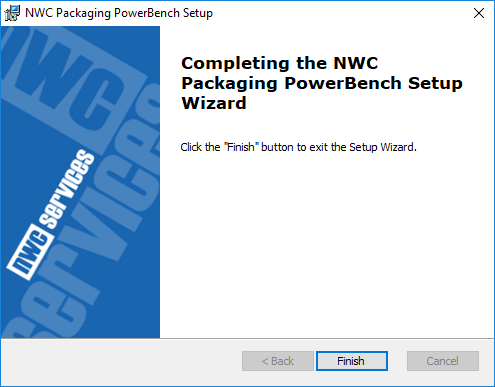
At the end of the installation process, the successful installation is completed by pressing the "Finish" button on the last wizard page.
The NWC Packaging PowerBench is now ready for use - provided that you have specified the license files during setup. Now continue with the chapter Working with the Packaging PowerBench and learn the first steps for your work with the product.