Installing the Package Subscription Service
Installing the Package Subscription Service
The Package Subscription Service is a Windows Service that is usually installed on a central system, typically on a server, where it runs in the background. This ensures that new versions are automatically downloaded and packaged very soon after release and availability. The responsible employees are then notified and can process the generated packages or begin testing and acceptance processes.
To install the Package Subscription Service, double-click on the MSI file "PackagingPowerBench4.0.msi" or select the menu item "Install" from the context menu of the MSI file.
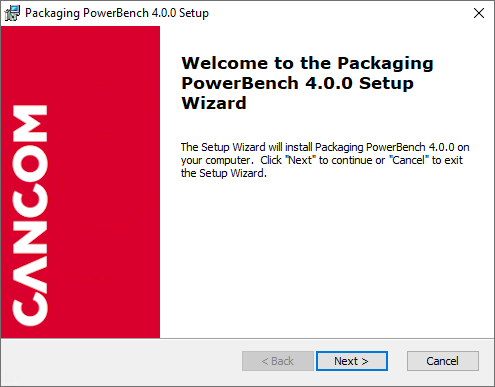
You will be greeted with the welcome screen of the installation wizard. Confirm with "Next >".
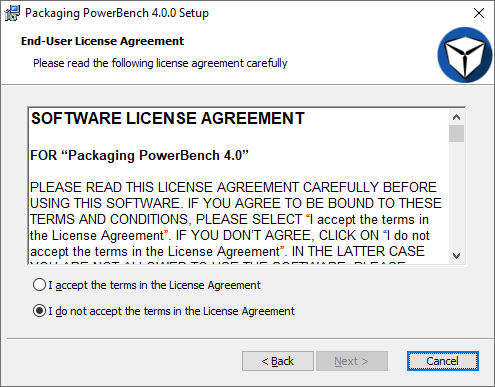
In the next step, you must accept the Software License Agreement. Please read it carefully and, if you accept the conditions, select the radio button "I agree to the license agreement". Confirm this by clicking on "Next >".

Now select the user-defined setup to have the option of selecting the Package Subscription Service.
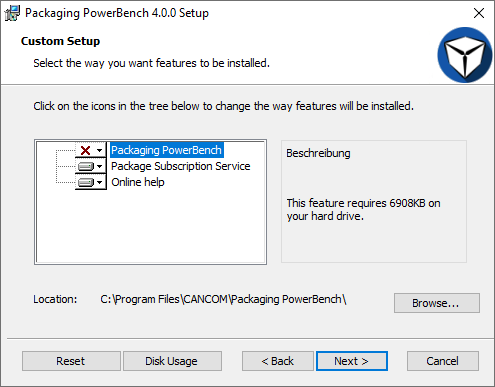
Make sure that the "Package Subscription Service" feature is selected for local installation. You can, but do not have to, install the "Packaging PowerBench" feature on the server and can therefore deselect it. It is up to you whether you want to install the online help.

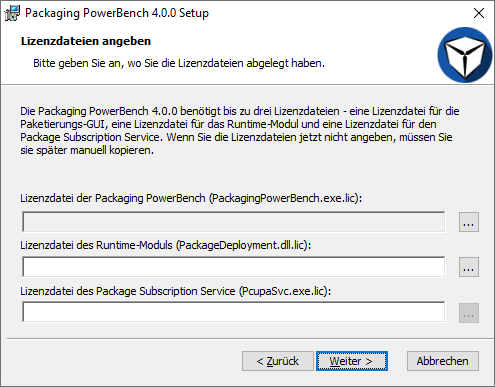
The Package Subscription Service requires the license file Pcupasvc.exe.lic for the service itself and the runtime license file PackageDeployment.dll.lic for the packages it generates.
If you have not yet received any license files, you can also skip this step by leaving the input fields empty and going to the next step by clicking "Next >". However, you will then have to copy the license files manually later. In this case, the file "PcupaSvc.exe.lic" must be copied directly into the installation directory - by default "%ProgramFiles%\CANCOM\Packaging PowerBench" - and the file "PackageDeployment.dll.lic" into the subdirectory "Common Runtime Files" of the installation directory.
|
Note: The setup automatically searches for the license files in the same directory as the MSI itself. If you store the licenses there before starting the setup, the fields will be filled automatically. |
Confirm your settings with "Next >"
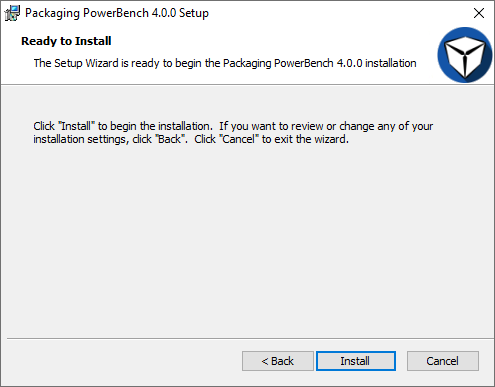
The wizard will now inform you that the preparations for the installation are now complete. Now start the actual installation process by pressing "Install".
|
Note: If User Account Control is activated, you must confirm the installation again in a UAC prompt. |
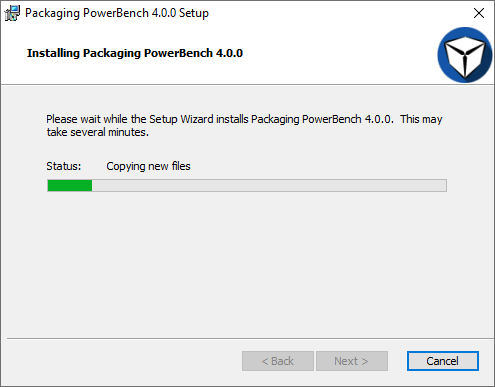
Please wait while the installation is being carried out...
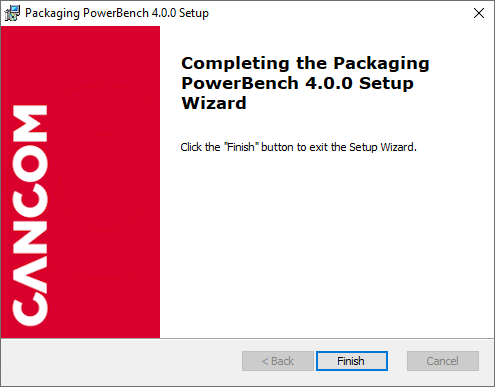
At the end of the installation process, the successful installation is completed by pressing the "Finish" button on the last wizard page.