Creating a package through repackaging
Creating a package through repackaging
Starting with version 3.0 of the Packaging PowerBench, you can also create new packages through a process called repackaging, i.e. by determining the differences of a before and an after state.
To create a new repackaging package, start the Repackaging Wizard, either via the corresponding icon on the start screen:

or via the button of the same name in the "Tasks" tab of the ribbon bar.
|
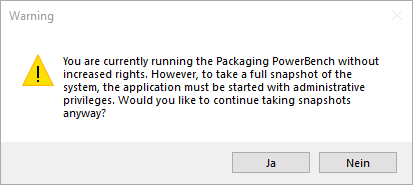
Note: If you started the PPB without elevated privileges, you will receive the warning message below when the wizard starts. It is recommended to cancel the snapshot creation at this point, exit the and restart with administrative privileges. |
- You will be welcomed with the start page of the Repackaging Wizard. Select whether you first want to record and save the current state of the system, or whether - after you have made the changes - you want to determine the differences to a saved state. If you do not have recorded an actual state yet, select the first option now.

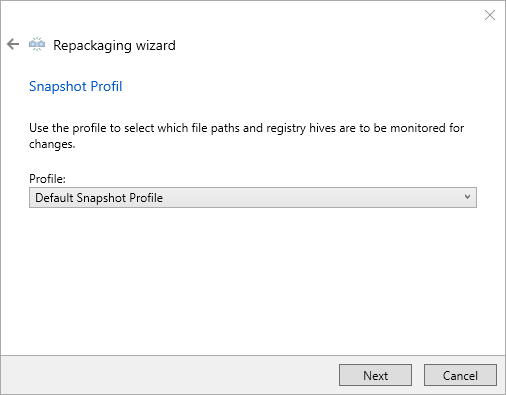
- In the next step you choose which Snapshot Profile you want to use for recording. Snapshot Profiles define which directories, registry areas and more should be monitored for changes. You can also define your own Snapshot Profiles if the supplied "Default Snapshot Profile" does not meet your requirements.
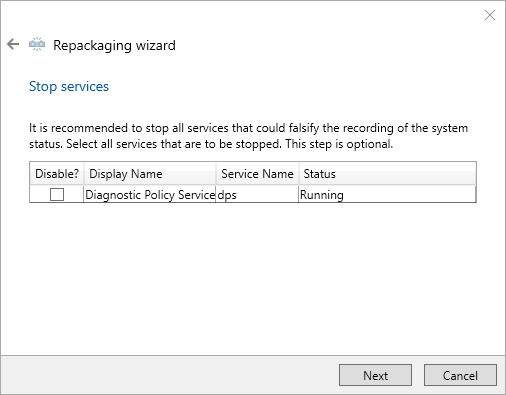
- The snapshot Profile also specifies which services can interfere with the recording and for which it is therefore recommended to stop them before starting the recording. On this wizard page, tick all the services that should be stopped.
|
Note: Under current Windows 10 versions, more precisely since version 1909, the services "Windows Defender" and "Security Center" can no longer be stopped manually. Nevertheless, these services can negatively influence the analysis result. It is therefore recommended to disable these services on the packaging system via the registry. |
|
Note: The services you select here are stopped and configured to "Disabled", so that they do not restart automatically after a possible reboot and falsify the difference calculation. |
- Now start the inventory of the current system state by pressing "Next".
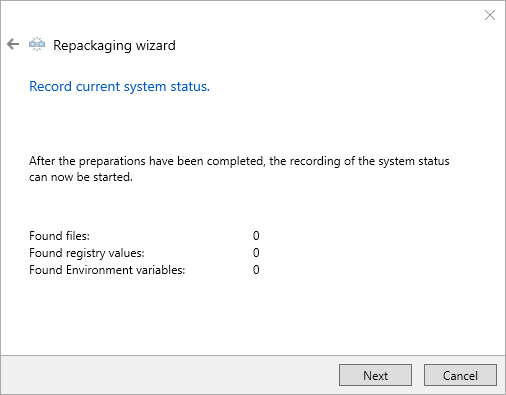
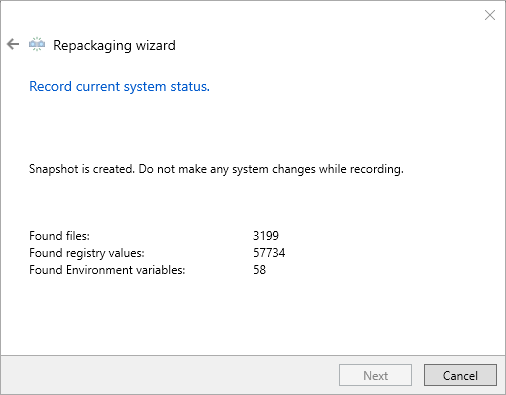
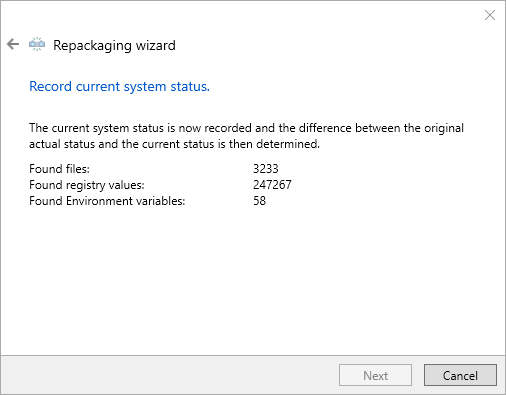
- During the recording, the wizard shows you how many files, registry values and environment variables have been recorded so far. Once this process is complete, you can click "Next" to move to the next wizard page.
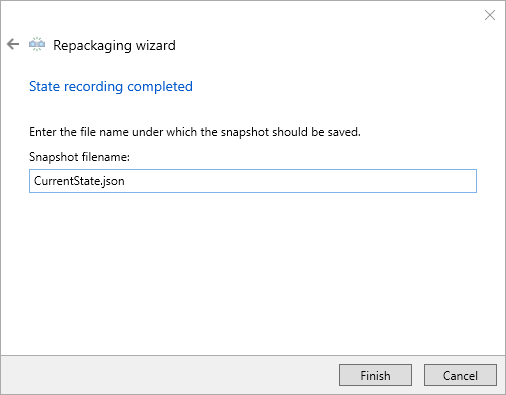
- You can now save this state under a descriptive name.
|
Note: You can save as many states as you like. These are stored in JSON files under the selected name in the %LocalAppData%\NWC Services GmbH\Snapshots directory. |
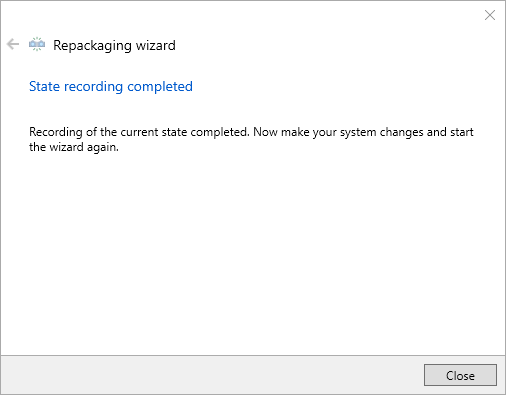
- Now close the wizard via the "Close" button.
- Now close the wizard via the "Close" button.
Now that you have recorded the current state, you can make the changes to the system that you want to record. It does not matter whether you are running an application setup, configuring an application, or manually making changes to the file system or registry. Note that, if possible, you should only perform relevant actions whose results you want to find in the generated package. Therefore, do not use programs that you do not need in this context, do not access the network or the Internet, and do not execute anything that is not related to the desired actions.
If you perform an action that requires a system reboot, close the PPB. Since the original state was saved, you can compare to it at any time, even after a reboot. However, you must consider that in this case significantly more "noise", i.e. system changes that are not directly related to the actions performed, will be included in the package. However, you can clean these up as part of the package revision.
- To now create a package from the system changes made, start the Repackaging Wizard again, but now select the second button "Analyze system changes".
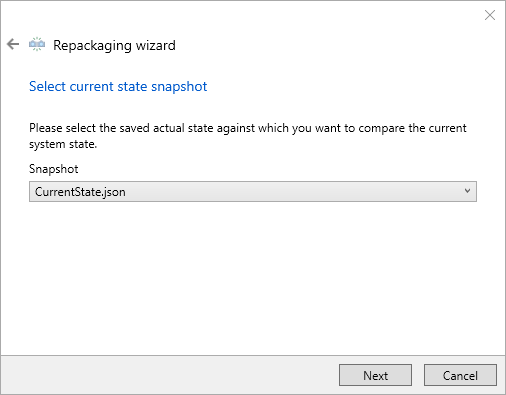
- In the next step you need to select the saved state with which you want to compare the current state and determine the changes. Select the desired saved state from the drop-down list and confirm with "Next".
- Now the Packaging PowerBench records the current state again to determine the changes compared to the before state.
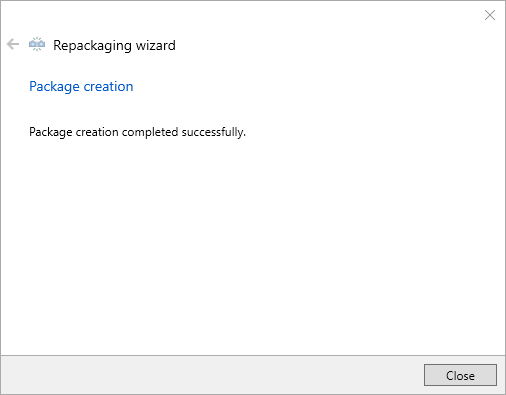
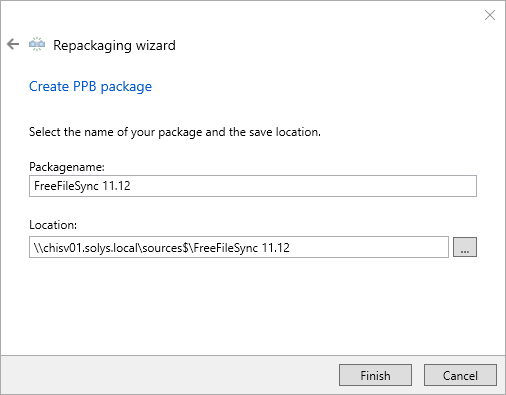
- After the changes have been calculated, you must specify the name under which the package is to be stored and the location, and click "Finish" to save the package.
- Now close the wizard. The generated package is automatically loaded in the editor and is now ready for review and, if necessary, revision.